A Very Jemjie Blog

Ki-Ro Badge Images for Catholic Sponsored Scout Groups

| Comments

I find the badge images on Scoutbase very useful during running meetings with my Beavers, whether for printing out and colouring, or for showing the right place on the uniform, program planning… loads of things. My Beavers love seeing what badges they can earn and are always asking the names of them all and what the requirements are.

One badge that I’ve found lacking is the Ki-Ro badge, a badge which can be worn by Catholic sponsored Scout groups. Some groups wear them on their necker, some on their sleeve. We wear it on our sleeve, but only those who attend a service at our sponsor church get awarded it, which means I always have a couple of Beavers asking what it is. I found the lack of a simple computer graphic for this annoying, so I made one myself!

Here are six images which you can download and use in your group (click on one to get a bigger version):

brown/gold ki-ro badge
Brown/Gold
green/gold ki-ro badge
Green/Gold
navy/gold ki-ro badge
Navy/Gold
red/gold ki-ro badge
Red/Gold
white/gold ki-ro badge
White/Gold
white/green ki-ro badge
White/Green

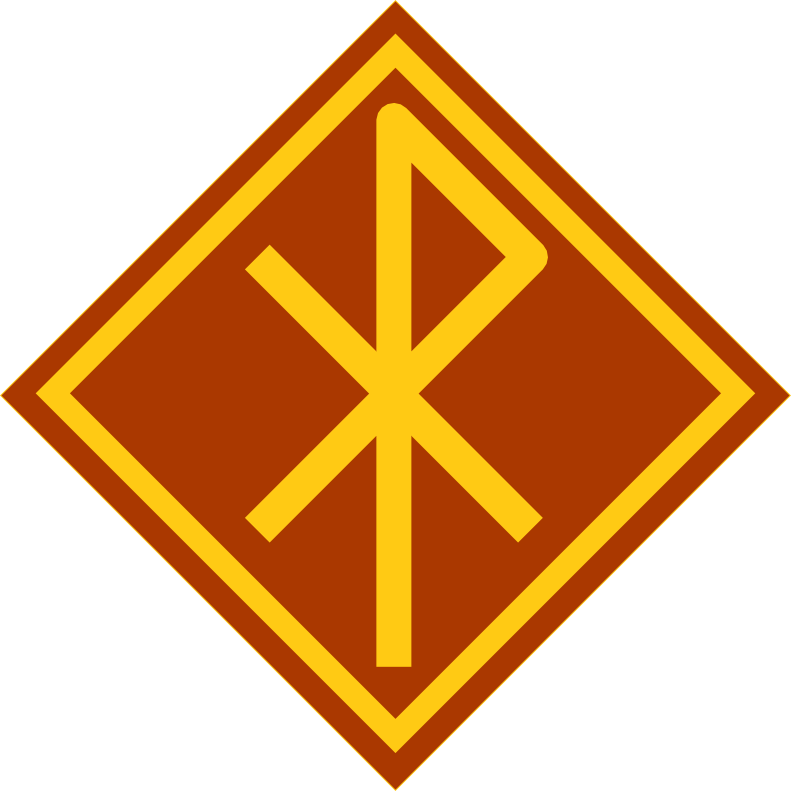
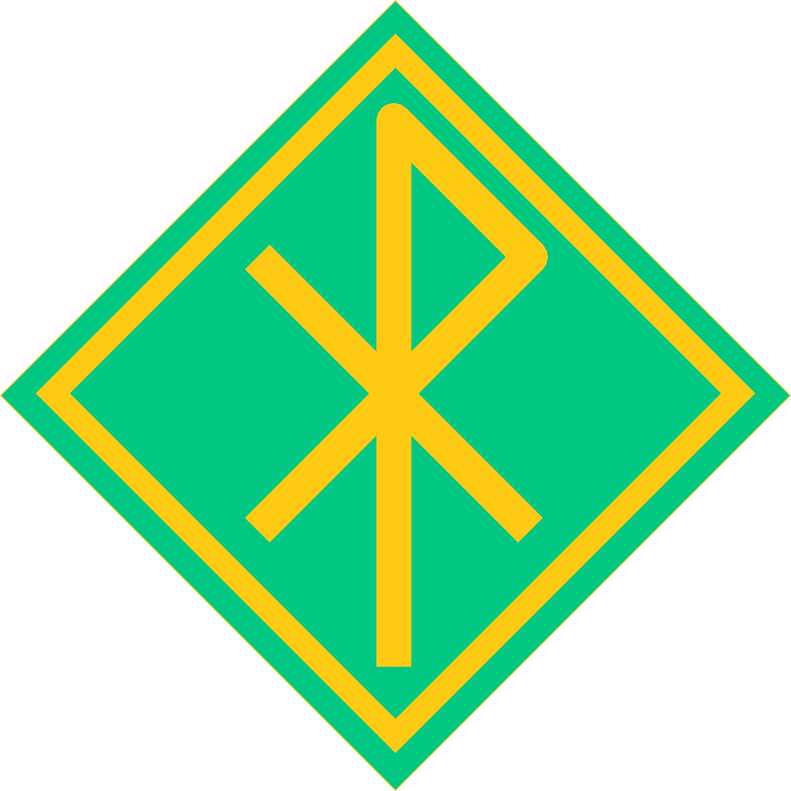
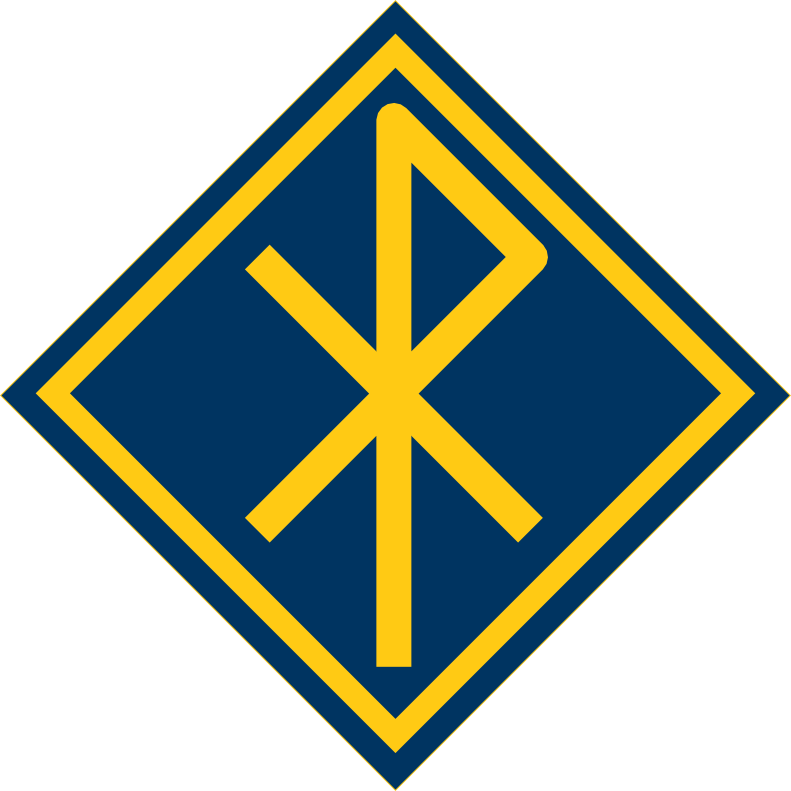
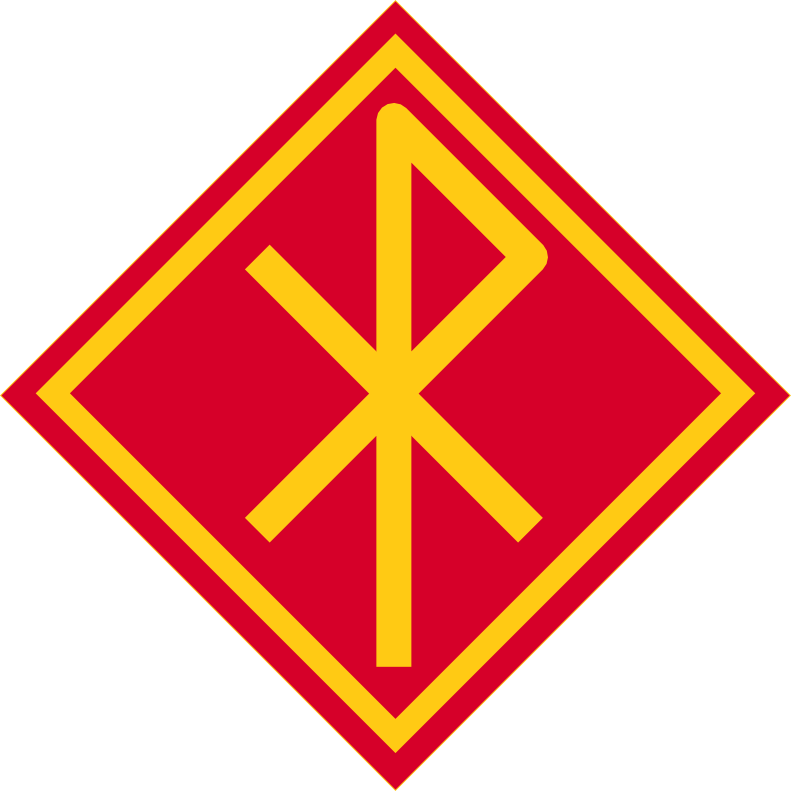
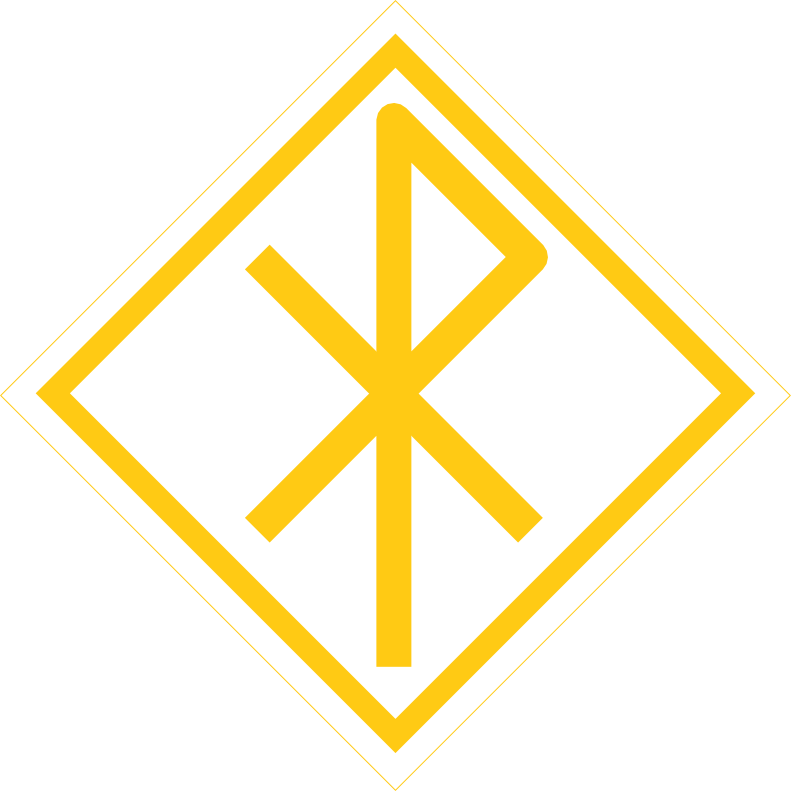
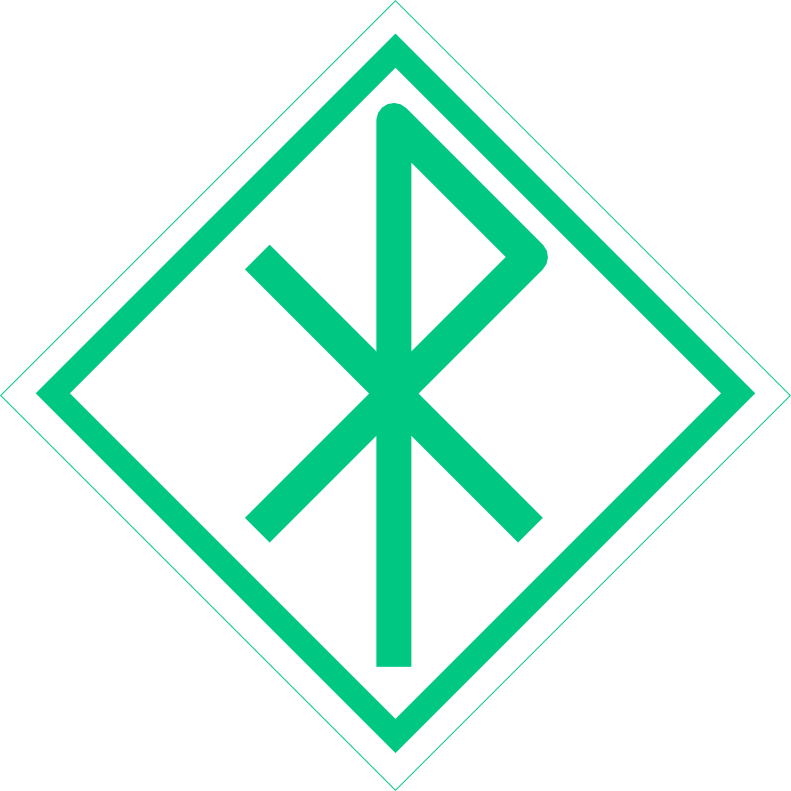
To my knowledge, these are the only colours avaliable. If you want to change the colour, here is a link to the master vector graphics file (.svg), which can be opened in programs such as Inkscape.

Have you found an image useful? Please let me know!

Changing My Blog Publisher and Moving Back to Jemjie

| Comments

So I’ve decided to move this blog away from wordpress.com and use a domain we’ve had sitting around for a while not doing very much. Benjie has convinced me that I want to use Octopress as my blog publisher, which is quite exciting as it means I can go back to just writing posts in a text editor instead of Wordpress’ funky WYSIWYG editor.

Wordpress was nice to use five years ago but:

  • its editor has become too bloated, and I have a personal dislike of drag & drop and on-hover actions and other flicky, animated things. It’s really not needed in most places.
  • I hate that the data is all stored in a single database and that posts are put together dynamically. Fine for little blogs like this, but blogs that serve to a large audience are likely to get slow. Plus, for a small blog, there’s no need to have a database when a series of some markdown files will do.
  • The control is back in my hands! Hurruh!

For some tips on how to move from Wordpress to Octopress, see here: http://www.benjiegillam.com/2011/09/from-wordpress-to-octopress/

Prayers With Atheist Beavers

| Comments

I have a number of Beavers who will, when discussing prayers and religion, happily say “There IS no God, you know!” and then not join in with whatever faith based activity we have planned for the evening. This leads to them also arguing with others in the colony about God’s existance, and while some would argue that this debate is healthy, it is often out of the scope of our capabilities as leaders (as is the existance of the Easter bunny and Santa Claus - we generally discourage this debate as it will upset some children and their parents)

So I came up with a new way to do prayer writing as part of the Promise Challenge that steers clear of the question of God’s existance altogether, so that we can go back to religion another time and present it in terms of what some people believe and what others believe. This is a pretty good activity to do at the start of the new year, it gets the Beavers thinking about the future and what they can do to improve themselves and their enviornment.

New Year Wish Tree

Running time: 20 minutes
Location: indoors

Resources: Large sheet of paper, green paper and felt pens

Instructions

  1. Draw an outline of a tree trunk on the large sheet (roughly A2 size)
  2. Beavers draw round their hands on the green paper
  3. They then write a wish on each hand: one wish for other people, and one wish about improving themselves
  4. Stick all the hands to the large sheet to make a ‘wish tree’
  5. Show the Beavers that these wishes can be looked upon as very simple prayers (so long as they aren’t wishing for a new Playstation!)

Portal Companion Cube Cake Is Not a Lie

| Comments

What better way to celebrate your birthday than with a LAN party? And what better thing to feed a console of gamers than a companion cube cake?

This recipe is a labour of love - there’s 2.5 hours baking time, plus at least as long again to decorate the cake, and there’s lots of hanging around for the cake to cool. It took me three days to do, but if I could make it again uninterrupted I’d say it would take about 10 hours.

The biggest challenge in making this cake is getting the cube shape. In the end I used an 8” tin, with the cake rising about 2” this allowed me to make two 4” cubes. Because the cake is so big, you need to use a couple of tricks to stop the outside from burning before the middle is cooked. I’ve included those in the recipe below.

I used a Madeira cake recipe as it’s easier to cut and “model” and it keeps longer than a light sponge. Instead of citrus, I used almond flavour and it worked pretty well. I also cheated and used ready rolled royal icing (with some black food colouring to make it grey coloured) and ready made butter icing. Maybe in the future I’ll get up the courage to make my own, but I’m not that competent yet! The one thing that really finished the look of the cubes was a lucky find of edible silver cake spray. It’s worth sourcing as it gave the cakes a brilliant, industrial, metallic shine.

Ingredients

350g butter
350g caster sugar
6 eggs
1.5 teaspoons glycerine
2 teaspoons of almond essence
350g self raising flour
175g plain flour

Decoration

Small jar of apricot jam
Butter icing
250g grey royal icing
250g marzipan
Red food colouring
Edible silver spray

Method

  1. Preheat oven to gas mark 2 / 150C
  2. Grease and baseline an 8” square cake tin, and wrap a few layers of greaseproof paper round the outside of the tin
  3. Cream butter and sugar together until the mixture is white
  4. Beat in eggs one at a time, each with a tablespoon of the measured, sieved flour to stop the eggs curdling
  5. Stir in flavouring and glycerine
  6. Fold in the rest of the sieved flour
  7. Transfer the mixture to the cake tin
  8. Make a hollow in the cake mixture so that you can see the bottom of the tin,  don’t be scared and make only a little dent. This - along with wrapping the tin in paper - will help the cake to cook more evenly.
  9. Pop the cake in the oven for 2 hours or so. After 2 hours start checking the cake to make sure it’s not burning on the outside. If it is, place a baking sheet on a shelf above the cake to reduce the heat a bit. It should be done at about 2.5 hours, just check the cake is done with a skewer - if it comes out clean the cake is ready to come out the oven.
  10. Let the cake cool in the tin until it is cool to the touch, then let it cool further on a wire rack.
  11. Wrap in clingfilm and put in the freezer for a couple of hours
  12. The cake is now hard enough to cut cleanly - slice the top off so that the top is flat, then cut into quarters. The quarters should be about 4” squares and 2” high so you can use them to make two cube shapes.
  13. Warm the apricot jam in the microwave, then spread on the sides of the shapes that will face each other (the jam acts like glue). I put a generous layer of buttercream icing between the layers too, but that’s up to you!
  14. Glaze the cubes with more jam, then cover them with grey, rolled out royal icing
  15. Roll out the marzipan and cut out 8 L shapes and 8 rectangles. Use these to make the square shapes at the corners of the cubes, using more jam as glue.
  16. Cut out 10 circles in the marzipan and “glue” them to the middle of each cube face.
  17. Use the edible silver spray to give the cubes a brilliant metallic shine
  18. Colour the remaining marzipan pink and then cut out 10 heart shapes and “glue” them to the circles.
  19. Finish with a light silver spray to make the hearts have a slight metallic shine

The Facebook Ticker “Scandal”

| Comments

Do me a favor: please hover over my name here, wait for the box to load and then hover over the “Subscribe” link. Then uncheck the “Comments and likes” choice. I would rather my comments on friends’ posts not be made public. Thanks Then repost if you don’t want your EVERY MOVE posted on the right for everyone to see! i’ll do the same for you if you want. just click “like.”

I’ve seen this doing the rounds on Facebook statuses, and couldn’t help but think it sounds a bit odd. Why, all of a sudden, would Facebook change their privacy rules such that the friend of a user has control over the user’s privacy rather than the user his/herself? Very odd.

Of course, this is just another case of user backlash against Facebook changes. See here this Facebook help link: http://www.facebook.com/help/?faq=140532576040937

The  reason you’re seeing strangers’ names in the ticker? That’s because they’re sharing stuff with ‘friends of friends’ or even with the public. If you’re careful with your privacy settings, then your name will only appear in friend’s tickers. Annoyed that your friends can see “your every move”? Well it’s really not showing anything new, your friends could already find all that information anyway, Facebook are just making it easier to find.

If you’re not comfortable with your Facebook friends seeing your actions easily, then either don’t engage in activity that you don’t want them to see… or cull your friends to those you do feel comfortable with. Perhaps this will lead to the end of sharing rubbish with people who you last saw when you were seven. Just a thought.

What Is All the Fuss Over?

| Comments

I was chatting with some friends earlier about life as a new mum and mentioned how there’s lots of debate and in-fighting amongst some mums. One friend was really surprised and said he couldn’t imagine what there could possibly be to get so worked up about. So I started to list things to give an example - formula vs breast feeding being the most obvious. It got me thinking, there’s actually lots of points of contention and mums put themselves through a lot of stress trying to juggle sticking to what is absolutely best for the baby, best for them and their family, and pleasing others too.

So let’s see what there is to make such a fuss about:

Breastfeeding vs formula feeding
Using disposable vs reusable nappies
Weaning at 4 months vs 6 months
Strict schedule vs lose routine vs no routine
Using bouncy chairs and swings vs “attachment parenting”
Using jarred food vs home purees vs finger food
Demand feeding vs scheduled feeding
Parent led weaning vs baby led weaning
Rear facing vs forward facing car seats
Using a pram vs using a sling
Sleep suits vs “real clothes”
Co-sleeping vs cot in parents room vs cot in own room
Letting baby never watch TV vs some TV vs using TV as a babysitter
Vaccinations vs no vaccinations
Blankets vs sleeping bags
Never breastfeeding in front of anyone vs sometimes under a blanket vs “you’re seeing boob if you like it or not!”
Sleeping on back vs side vs front
Thumb sucking vs dummy use vs nothing
“Cry it out” vs “controlled crying” vs never letting baby cry
Letting baby sleep where ever vs only in cot

Now to be fair, a lot of these things I’ve written as polar opposites, while actually many parents sit somewhere in the grey area in between. However, in the heat of the moment it feels like you have to defend one or the other - there seems to be no middle ground.

Bear in mind this list only covers the first 6 months of life, doesn’t cover the competitiveness over “developmental milestones” or weight gain, and doesn’t cover birth stories either.

I’m sure there’s more to come of the ‘work vs nursery vs staying home’ variety. Gee, I can’t wait!

Nomlish Banana Bread

| Comments

This is a recipe I’ve had written on a scrap of paper for years. It makes a really yummy moist banana bread that isn’t too bananay, if you get what I mean! The great thing about this is you can just make it from things you already have when the bananas start to go black. It’s best when they’re really black and smell, actually!

225g self raising flour (or plain, with a teaspoon baking powder)
225g caster sugar
100g margarine
3 eggs
4 small over ripe bananas, mashed
optional - 120g sultanas, soaked in water then dried and shaken with some flour
optional - 50g glace cherries, washed then dried and shaken with some flour
optional - teaspoon of grated orange or lemon peel

  1. Mix the flour with the sugar, margarine and eggs
  2. Add in the mashed bananas and any other dried fruit
  3. Put in the oven at Gas 4 / 180 C for 1.5 hours
  4. Turn out and eat a slice while still hot
  5. Have another slice, NOM NOM NOM

Clear Soup for Poorly Tummies

| Comments

Gotta post this before I forget what I did. Makes a yummy soup for poorly tummies, and fills the house with a brilliant smell!

At first glance, it seems quite wasteful but we found the beef is really tender and we used it for dinner that evening. The veggies are pretty nice too if you don’t mind the texture!

I guess this could be done in a slow cooker to save the gas.

Ingredients

250g beef
1 litre cold water
2 carrots
2 celery stalks
2 leeks
8 cloves
10 peppercorns
1 bay leaf
1/2 bunch parsley
2 pinches salt

Preparation

Carrots, leaks and celery should be well washed but not peeled or cut. The beef should be cubed. The idea is that as much of the goodness leaches out of the veggies and meat as possible, without them breaking up and clouding the soup.

Cooking

  1. Add all ingredients to a large saucepan and bring to the boil.
  2. Cover and simmer for a good 4 hours.
  3. Check periodically and skim off any scum from the surface.
  4. Pour through a colander to catch the meat, vegetables and herbs.
  5. Pour through a cold, wet muslin into a storage bowl. This catches any small bits and some of the fat.
  6. Store in the fridge over night
  7. Pour through a cold, wet muslin to catch the fat
  8. Heat as needed!

Managing Boisterous Behaviour in a Beaver Colony

| Comments

For a while now my Beaver colony has suffered from a problem which I am sure hits all leaders at some point: Unacceptable behaviour. I’m not only talking about loud noise and low attention levels, but also verbal insults and physical violence (of a mild sort, sure, but I still don’t want it in my colony, thank-you very much!) Thus my leaders and I came up with a solution which has, so far, worked rather well.

We devoted two separate evenings to coming up with some colony Golden Rules. The first evening we talked about good and bad behaviour and then asked the Beavers to write down two examples of good behaviour and two examples of bad. We then used this to create a board game: I had already drawn out a game board on to a large (1.5 m x 1.5 m) square of card and left the squares blank to fill in. Most of the rest of the evening, we used the Beavers’ ideas to fill in the squares with actions such as “Didn’t listen to our leader, go back 3 squares” and “Said thank-you, go forward 2 squares” – discussing with the Beavers how bad or good the behaviour was (as reflected by how far you have to move your piece). This game has gone down very well, and the Beavers have asked to play it every meeting we’ve had since!

The second evening we played the game again to remind them of model behaviour and then as a colony came up with some agreed rules. All of the rules show the positive behaviour (“Dos” instead of “Don’ts”) and this works rather well. We also introduced a cuddly Beaver toy, named Castor, who goes home each week to the best behaved Beaver.

Throw in some standard behaviour management techniques, such as counting down from 5 to 0, insisting on silence before continuing instructions and drawing attention to the rules when things begin to get out of hand – and behaviour at our all-boy colony is almost perfect!

Table Decorations, and a Nice Surprise.

| Comments


I’m down in Gosport again this weekend, doing more "wedding stuff". Yesterday we went to Collectables in Gosport town centre to talk about table decorations and to see what they have come up with.

The idea is that we have fishbowls on the table, filled with some decoration-stuff and topped off with gell balls with a LED light in the middle…


… That doesn’t explain it very well. Here’s a photo of the two examples the ladies in the shop gave us:

Hopefully you can now see what I mean. The gell balls are of the type that you grow in water, so they’re all squishy, and I’m sure many people will be playing with them on the day! We preferred the one on the right, and worked with the ladies to make something even more appealing by adding more wire and beads in the bowl. This gave us something that looked like this:

This photo also gives a better light and shows how the LED will look in the top part of the bowl. We’ve also ordered some purple heart shaped guitar picks from E-Bay that we’ll be able to add to the bowl and scatter on the table. It’s all coming together!

On a completely different note…

It are snow Let me in


First thing this morning as I came downstairs in my parents’ home in Gosport, I look at the scene outside the patio doors and what do I find? Some strange white stuff. It can’t be snow, can it? In Gosport?!

For some snow photos, see Benjie’s blog.